

Add and configure Verify Live
Plauti Verify Live is a feature that can be integrated into any record page layout in your Salesforce org. Verify Live performs a real-time search for non-validated Addresses, Email Addresses, and Telephone Numbers when opening a record.
1 Add Verify Live to an Object Layout
Add the Verify Live component in the Salesforce Lightning App Builder.
Go to the Object where you want to add Verify Live.
Open a record of the Object.
At top right, click the Salesforce Setup icon and select Edit Page.
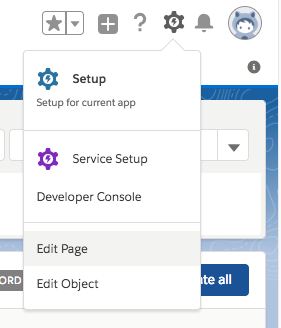
The Salesforce Lightning App Builder opens.At left, under 'Custom - Managed', find the Plauti Verify Live custom component.
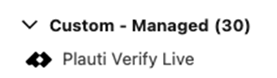
Place the Plauti Verify Live custom component on the page by dragging it onto the page layout. Alternatively, create an insertion point at an existing component (click on the small + icon at the top or bottom of a component) and then click on the RV Live component to add it there.

You can place the component in the center of the page, or drag it to the right hand side of the layout to view it in a more compact way.
Watch this short video to see how to add Verify Live in the central position on your page layout.Click Save. Activate the page 'as Org default' or other assignment if prompted.
Repeat for each object where you want to use Verify Live.
Then continue with step 2. Configure Verify Live.
2 Configure Verify Live
Configure the field sets to validate for Plauti Verify Live, indicate where validation meta-data should be stored, and more:
- For Address Validations see this article.
- For Phone Number Validations see this article.
- For Email Validations navigate to this article.